Design Validation Testing with LabVIEW
What is it?
How to do it well.
Gotchas.
What is design validation testing?
How do you know which design is best? Let’s say you have an idea for a new product or even an upgrade of an existing model. There are many ideas that marketing and sales give you for that new product and you choose some of those features to include.
The next step is to figure out how to include those new features into the product, and this stage is where design validation helps because you are going to have to make engineering trade-offs. Depending on the nature of your product, you’ll ask questions like “is this strut strong enough?”, “is this power supply ripple tolerable”, “how is the light intensity affected by the temperature?”, and so on. You will eventually build a physical prototype and you’ll want to test the design by validating its performance across a range of scenarios.
Using the questions above as examples, you’ll want to subject that strut to various loads, inject various ripple amounts into the supply voltage, and so on. LabVIEW is great at collecting the data which measure the performance of the interesting parameters and, since it also interfaces with control equipment, it is also a great platform for subjecting the product prototype to a range of loads, ripples, temperatures, and so on.
By analyzing this set of design validation data, you gain confidence about the design choices made during the engineering trade-offs. And, once in production, you can use these data to set test limits to verify product performance before leaving the test station.
A lot of measurements
What measurements should I take?
Your team has certain performance characteristics that they want the device to have. The measurements you make should either directly or indirectly measure those performance characteristics.
In early validation tests, you should consider measuring the most critical items so you can get quick feedback on those items. However, if the test setup takes substantially longer than collecting the measurements, then collect them all.
Some common measurement types:
- Temperature – Thermocouple, RTD, infrared, thermistor
- Pressure – Capacitance, piezoelectric, piezoresistive
- Vibration – Accelerometer, prox, strain gauge
- Current – Current transformer/probe
- Load – Load cells, piezoelectric, strain gauge
- Voltage – Voltage transformer/probe
- Flow – Volume flow, mass flow
- Light – Power Spectrum, Overall intensity
- Acoustics – Ultrasonic, hydrophone, piezoelectric
- Force – Strain gauge, accelerometer
- Location/orientation – GPS, accelerometer
- Distance, proximity – Laser, electro-optical sensor, camera, hall effect, infrared, capacitance
- Vision – Optical, infrared
- Humidity/moisture – Capacitive, resistive
- RF Emissions – RF receiver
- Magnetic Field – Hall effect
Why do I need so many?
You don’t need all the measurements or vary all the conditions. If you want to collect less data, read up on fractional factorial DoE. If the time spent making measurements on a subset of conditions or responses is small compared to the test setup, then why not measure everything across all condition ranges?
Test Fixtures
You’ll need to connect the test equipment to the product being tested, and the fixture that allows this connection is often a one-of-a-kind fixture since the product design you are testing may not pan out.
How expensive is a fixture?
The cost of a design validation fixture significantly depends on the product design being tested and the rigor applied during that testing. Clearly, the fixture for validating a jet engine bearing needing a 1000 hour durability test will cost more, at 10s or even 100s of thousands of dollars per test, than a fixture for checking a residential pneumatic door closer, at less than 1000 dollars.
How do I get the most bang for my buck with a fixture?
If you can reuse parts of the fixture for the production test equipment, or create an adjustable fixture, then at least the validation fixture is used more than once.
Setup/teardown time is not as important
Not as important as what?
As in a manufacturing environment where test speed is important to increasing production volumes.
Why not?
Because the data collection is the primary goal, not the speed at which the data are collected. That said, if the setup/teardown of the fixturing and support equipment takes long relative to the data collection of measurements, consider taking more data by scanning across all N dimensions with finely spaced intervals. Make the setup/teardown worth your time and expense.
Data analysis
All those measurements will be used to look for the design that offers the best performance for an acceptable cost of production.
What’s most important to keep in mind here?
Often, you’ll have a slew of data collected over a wide range of conditions. Think about a procedure to keep track of how the data were collected and where they’re located on your hard drive. Otherwise, you may combine the wrong datasets or, worse, need to rerun a test because you lost the results.
How should I organize my collected data so that it’s most useful?
Be sure to connect the operating conditions and product prototype ID along with your data. Typical methods include:
- file naming schemes,
- embedding the conditions and IDs into the file header (e.g., using TDMS files),
- or using a database to tie everything together.
Protecting the product
What sorts of things do I want to protect my product from?
Since you will likely be operating the device at the edges of acceptable conditions, you might overestimate the behavior of the device and step into a set of conditions where the device is harmed or even destroyed (e.g., over voltage, over temperature).
What are some good ways to help protect my product?
Don’t simply collect the measurements. Start the walk across a dimension in the nominal operating conditions and decrease (or increase) the condition’s input variable. Don’t start at the far “left” end and walk across to the far “right” end. If the test system notices a rapid change in device behavior, you might want to consider aborting the walk early on across the range for that condition’s dimension.
Design validation with LabVIEW
How does LabVIEW come into play with design validation testing?
LabVIEW is a software environment that allows you to automate much of the design validation testing. You can automate:
- Control (e.g., power supplies, actuators)
- Measurement (e.g., voltage, current, temperature, vibration)
- Test sequencing
- Test report generation
You can create a user interface for the operator/engineer to check on performance and status in real time.
The other way that LabVIEW comes into play is through the various hardware that National Instruments has developed to facilitate measurement, control, processing, and communication: having one vendor that supplies hardware control natively into LabVIEW clearly improves the ease of use during integration. But, NI doesn’t make all types of hardware available and yet other measurement and control equipment manufacturers have standardized on LabVIEW support, and thus drivers for equipment from almost any vendor in the world are available in LabVIEW.
How do I learn more about LabVIEW?
Here are a few resources to get you started:
- What is LabVIEW used for
- Using LabVIEW for automated testing
- Where is LabVIEW used? Who uses LabVIEW? What companies use it?
- Advantages and disadvantages of LabVIEW
- What is LabVIEW – A developer’s perspective
- How to learn LabVIEW quickly
What if I want someone to do the LabVIEW part for me?
Start by reading this article on 5 considerations before you select a LabVIEW consultant.
Design validation costs
What are the main costs of doing design validation testing?
The main costs of validation testing can be grouped into 3 main categories:
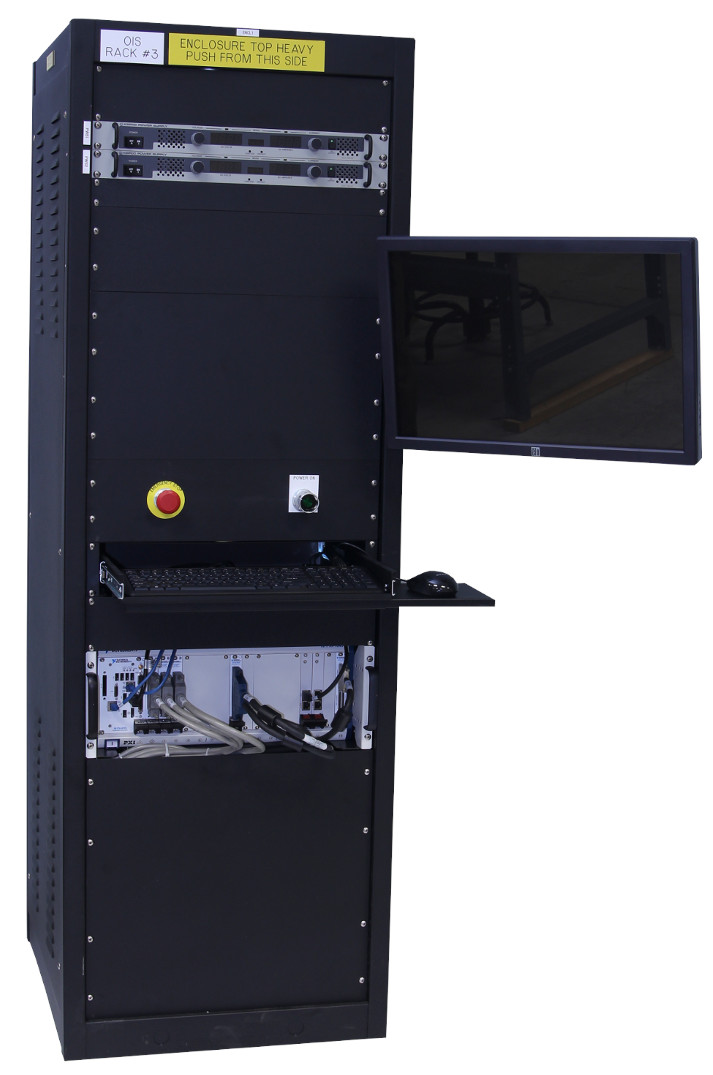
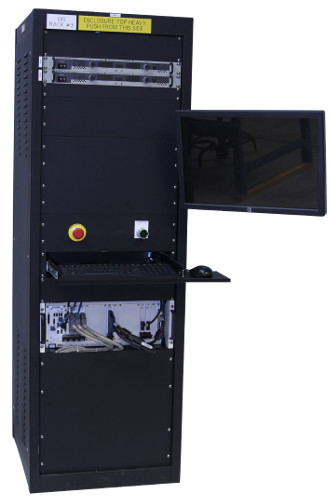
- Test system – this can include measurement, communication, and control equipment, custom LabVIEW software for test automation, and a test fixture (see Custom Test System Buyers Guide for more details on the breakdown).
- Test execution – this is the actual labor costs of executing the tests.
- Test analysis – this is the labor and/or analysis tool costs associated with analyzing the test results.
Test facility infrastructure is a real cost, but generally captured as a separate category (and thus not captured here) of the cost of doing business for a company. This includes things like power, network, liquids, gases, and air needed by the test system / UUT.
What’s the typical range for the cost of each of these aspects?
The range of cost for validation testing often scales with the cost of the product. And, cost also scales with how new the product is (is it a variation on an existing product or an entirely new device?).
All-in costs (excluding infrastructure) can range from low 10s to high 100s of thousands of dollars depending on how much measurement and control hardware is needed, how laborious the setup and execution are, and the level of manual labor in post-acquisition analysis.
- Test system – The lower end of what we see usually costs ~$10-20k. The majority of needs are solved for <$100k, while some of the more advanced systems we develop are on the order of ~$250k.
- Test execution – Labor costs are typically the biggest cost driver. If the test is performed manually, someone has to setup the multi-dimensional conditions and then record the results. That’s a lot of labor. So, often, the more you can automate the testing the lower the cost of the test. The time to setup the test is hardly ever less than 1 day (for the initial setup, variations are usually less). But for complex and tests with 1000s of sensors, setup time can be 10s of days. Plus, the ongoing “care and feeding” of the test may take time. For complex tests, a few hours a day at most to check on and service the system is not uncommon. So, costs for test execution can range from $1000 to $20000. If we had to put a single number on the costs for setup and ongoing service, $3000 is a reasonable estimate for most projects.
- Test analysis – The cost of analyzing the measurements can be high ($10s to $100s of thousands of dollars) if done manually. Consider automating some or all of the analysis steps and report generation to save money.
How to do design validation with LabVIEW well
N-dimensional or Multi-factor testing
What is n-dimensional or multi-factor testing?
Most devices operate in changeable environments or conditions. Some typical examples for circuit boards are the environmental temperature and the voltage level of the power supply. For an electric motor, example conditions are the RPM and the load.
Each one of these examples, varies 2 conditions. You might want to subject your device to N conditions. To validate that your product operates acceptably across a range of these N conditions, the tester needs to subject the device across these ranges while measuring the performance of the device. Hence, there are N-dimensions to span the conditions.
These conditions are the input variables. The output variables are the measurements, and there could also be many of these.
In multi-factor testing, such as used in Design of Experiments (DoE), the conditions are called factors and the measurements are called responses. In design optimization protocols, such as Response Surface Methodology, the conditions are called input or independent variables, and the measurements are called response variables.
Why should I care?
If you want to understand the performance of your device across a wide range of multiple conditions, the best way to achieve that clarity is to make actual measurements on actual devices. Simulation via error analysis methods are great during early design phases, but hard measured evidence can capture realities that a simulation often won’t.
Furthermore, with the ever-decreasing costs of automation, what once might have been done with a minimal number of measurements, because of the time involved, can now collect enough data to build clear response surfaces and fully understand the limits of device behavior. For example, that LVDT accuracy might rapidly decrease after a certain stimulus amplitude (or frequency), but you won’t know where the “knee” in that falloff is unless you densely sample the amplitude (frequency) dimension.
Which are my inner and which are my outer loops?
Spanning the N conditions means you are using N nested loops. Devices respond more slowly to a change in one condition than another. Or perhaps the source of one of the conditions might be slow compared to another, such as thermal chamber response to a change in requested temperature versus the time it takes to a power supply to settle into a new DC voltage output. These “sluggish” condition changes should be put on the outer loops, while the quickly changeable ones are in the inner loops.
What should I watch out for?
Collecting too much data and confounding factors. How do I eliminate or reduce confounding factors? What’s the best way to collect? Read up on DoE and RSM (see the next section for details).
Consider learning a bit about DoE and RSM
What aspects should I learn about?
DoE and RSM are broad and somewhat interrelated subjects, but the main purpose of both is to identify which factors affect the product’s performance more strongly than others.
Some references worth reading are:
- https://www.itl.nist.gov/div898/handbook/index.htm
- Douglas C. Montgomery, Design and Analysis of Experiments (John Wiley & Sons, Inc., 1984) ISBN 978-0-471-86812-4.
- Raymond H Myers and Douglas C. Montgomery, Response Surface Methodology (John Wiley & Sons, 3rd Edition, ISBN 978-0-470-17446-3.
System health check
For very expensive validation tests, consider running a health check on the system before running the test to eliminate the possibility that erroneous data are collected, or errors occur.
What’s a system health check?
At a minimum, verify that the data acquisition and control equipment is responding.
At a maximum:
- check that the sensors are functioning,
- the cabling is connected,
- and the calibration of any signal conditioning hardware is within tolerance.
How do I do it right?
A standard method uses a health-check fixture, which is sometimes simply a “gold” unit that is known to function. You can also use specialized signal conditioning equipment that has a “test bus” for verifying connections and calibrations.
Design Validation Testing Gotchas
Not collecting the right or collecting too much data
One of the challenges with Design Validation testing is knowing which measurements will be most useful after the test is completed. Should you have added more sensors or different types of sensors? Did you collect enough or too much? Before you begin an exhaustive test, consider a few short runs with various sensor types and configurations to learn which sensor types and locations are sensitive to the effects being characterized. When tests, even short runs, are expensive, add more sensors. You can always discard the measurements that are not useful.
Validation test software
Likely you may be motivated to hack something together to run the validation test automation. The software application is only going to be used once, after all, right? Resist the temptation. Spend the time to assure your software is developed properly and robustly. An aborted application, lost measurements, or a host of other bugs can easily reduce the utility of the automated test software. Don’t skimp here.
How long the test is
What should I watch out for?
For endurance testing that last for 100s or even 1000s of hours, include a means to check the health of the support equipment. For example, testing an engine will require that the oil pressure be above a limit throughout the test.
How long is long?
If you are concerned about the duration of the test, read the DoE and RSM references above to consider ways to collect less data while still having enough to make valid design decisions.
How expensive the test setup is (1000s of sensors and big infrastructure)
What do you mean?
If the cost of the test is a significant fraction of the test equipment cost, you should be doing system health checks before and even during the test. These capabilities must be designed into the validation test system.
How can I reduce the likelihood and/or impact?
Check, and double check your setup and infrastructure. For example, if your test infrastructure supports a wind tunnel, you’ll want to verify that the upstream wind-producing equipment is ready to go before the start of the design validation test.
Next Steps
Want someone to take the design validation test system off your plate? See how we’ve helped other validation teams and then reach out to start the discussion.
In learning mode? Check these out: