Instrument Control with LabVIEW
How to do it. Gotchas. How to get help.
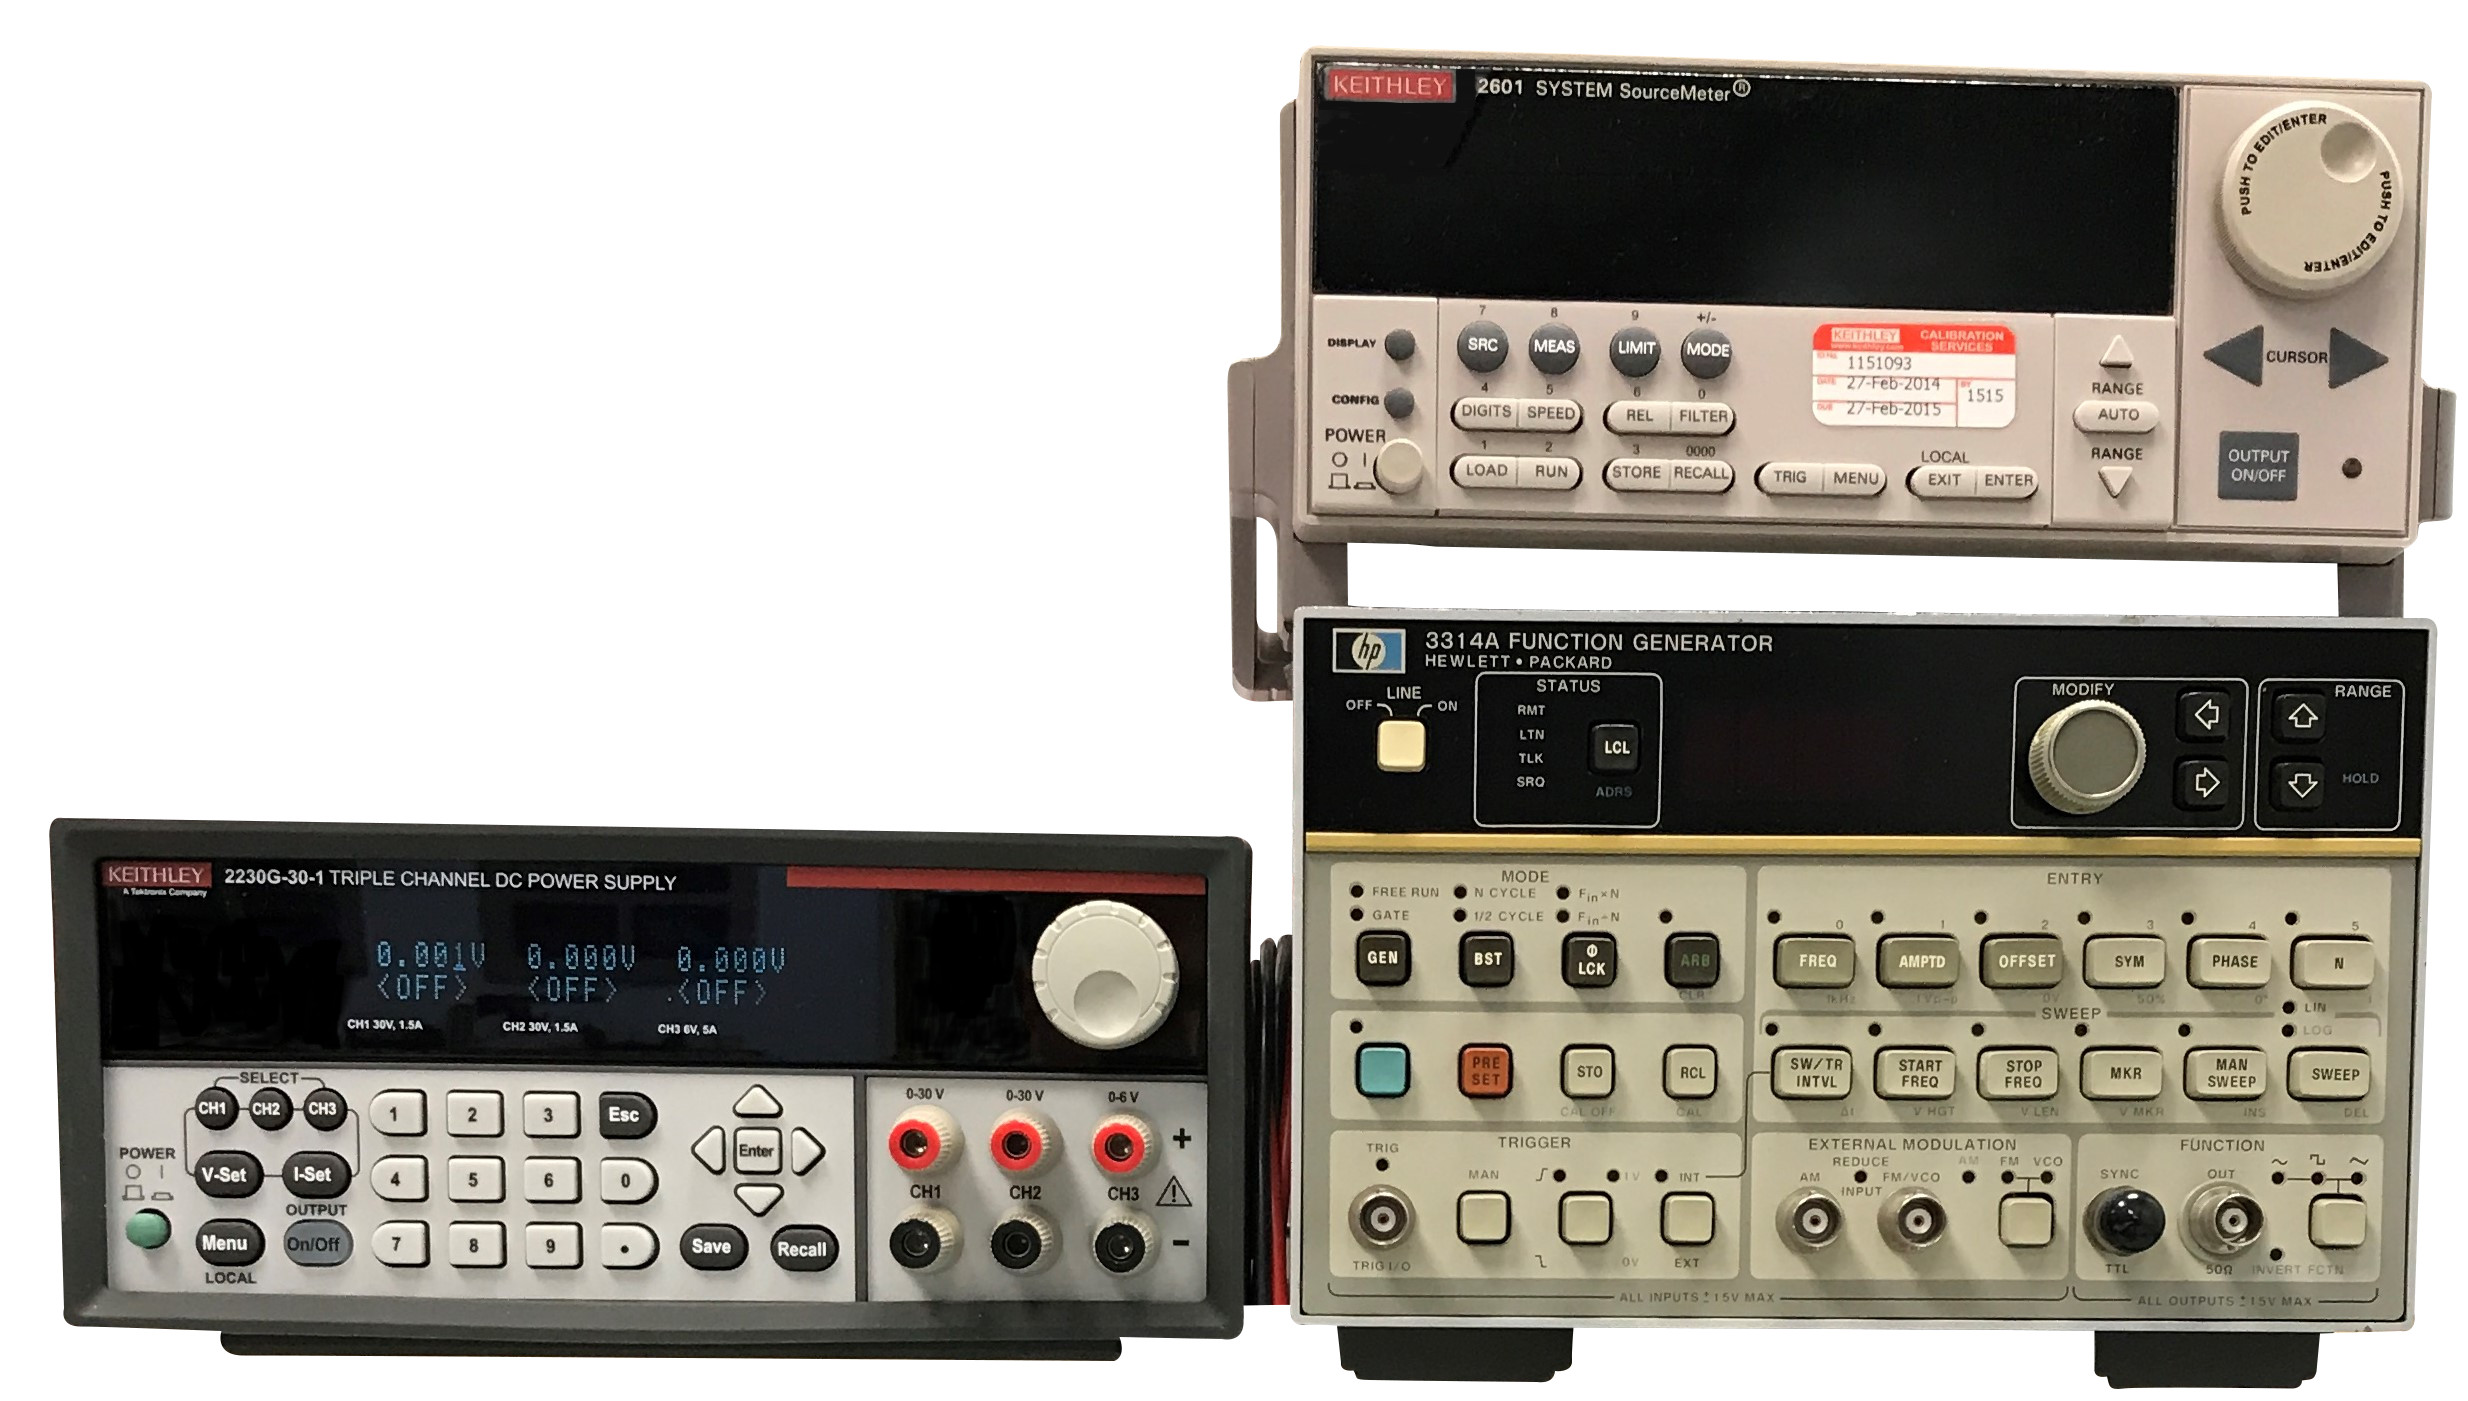
Since you found this article, you likely have a specific instrument or piece of lab equipment you’d like to control with LabVIEW (likely to automate some test equipment). The sorts of equipment that people often want to control (of course, there are many others) include: power supplies, power meters, DMMs, network analyzers, oscilloscopes, spectrum analyzers, and PLCs.
How to control an instrument with LabVIEW
Determine how to talk to the instrument.
Open the user’s manual and look for the remote interfacing or programming section. Some instruments may have a separate User Manual and Programming Manual, so if you aren’t finding the information you need in the user manual it is worth checking the manufacturer’s website for additional documentation. Usually, you find that an instrument has one or more methods for interfacing to it, such as GPIB, RS-232, Ethernet, CAN, and USB. Additionally, a communication protocol – such as Modbus, SCPI, CANOpen, DeviceNet – may be mentioned. Sometimes, instead of providing a command set that uses a particular communications protocol, manufacturers provide a DLL or even a set of VIs with functions available for each remote command. It is good to review the steps for remote communication with the instrument and the full command set, even if you find that you only need a small subset of the available commands.
Search for an existing driver:
A driver is really just a software interface to simplify communication with whatever device you are trying to control so that you don’t need to know the exact set of commands to send to the instrument each time you want it to do something. It isn’t necessary to find a driver in order to control your instrument, but if one exists it will save you time. Drivers usually include example VIs that show you how to perform basic configuration and communication with the instrument.
- Start on NI’s instrument driver network: http://www.ni.com/downloads/instrument-drivers/ . These are usually better supported than those found elsewhere.
- If not there, search the instrument manufacturer’s website.
- You usually don’t need to worry if the driver says it’s compatible with an older version of LabVIEW. Open it up in your newer version of LabVIEW, compile it, and it should be fine (famous last words).
Gotcha: All drivers were not created equal. Don’t assume that a driver will do what you need it to, even if it claims to do so. Verify.
How usable is the driver?
If a driver exists and the driver appears to have all the functionality you need (this scenario happens ~30% of the time):
- Start from most basic example code (usually the documentation for the driver will point you to this) and get basic communication up and running (take measurement, create ramp wave). If the basic example doesn’t work for you out of the box, check the communication settings.
Gotcha: Make sure you’re using the correct instrument communication settings. For example, serial settings (e.g. parity), COM port, IP address.
- Look through the various available examples to see if you can piece together what you’ve got as a starting point for your interface needs.
Gotcha: Create a copy of an example for modification and keep the original as a baseline. You may run into trouble and want to get back to the original.
Gotcha: Use version control to lock down working versions.
- Before you dive into the rest of your higher level application (e.g. an automated test system), create an instrumentation control prototype VI that validates the driver works the way you need it to. You’ll want to be able to go back to this as you develop your higher level application to sanity check that you can still interact with the instrument as intended as you move through the development and debug process.
- Determine how instrument control ties into the architecture of the larger application. Usually you’ll want some sort of wrapper between the baseline driver and your application.
If the driver exists, but doesn’t have either all the functionality or all the performance needed (this scenario happens ~20% of the time):
For example, maybe you’ve got a read VI that only reads from one channel at a time, and you would like to read them all at once. In this case, you may need to figure out a different way to read – one that scans all the channels and returns all the measurements at once. Another example is if you’re trying to read a measurement at high precision, it may take longer than if you read the measurement at a lower precision.
- Look inside the driver VIs and see how they are structured. There may be a clear way to get to the setting you want or speed up communication.
- Go to the user manual to understand command set. You need to know:
- What type of reads exist
- What other settings are available
- The required order of operation for initializing the instrument and initializing what you want to do, the steps to execute, and the steps to close instrument.
- At this point you need to make a judgment call on whether you can hack this driver or you need to start from scratch. If hackable,
- Make a new version of the VI to make changes to.
- Test the changes.
Usually what happens is that you’ve got several VIs you can use as-is, and a few you’ll need to modify.
If you need to write the instrument driver from scratch (this scenario happens ~50% of the time):
- From the user’s manual, identify which read/write commands to use and how to send them. You’ll usually need these categories of commands:
- instrument initialization
- setup
- execute
- close
- Create an instrument control prototype VI that validates the driver works the way you need it to. You’ll want to go back to this as you develop your higher level application to sanity check that you can still interact with the instrument as you move through the development and debug process.
- Create a hardware abstraction layer that puts each action into its own VI. Sometimes you’ll have one command in each VI, other times you’ll want to bundle a few commands together (read request and response, set a configuration setting and check for errors, sending the 4 different commands you need to configure a read, etc.).
Gotcha: creating an abstraction layer in cases like this is usually a good idea, because if you don’t, and need to make changes down the road, you’ll be replicating the change for every single place you use the instrument, rather than just an isolated set of VIs.
- Put the driver into the higher level application and test it.
Other Gotchas
A few other miscellaneous gotchas to be mindful of here:
- For serial interfaces, be cautious of serial to USB converters as they can be pretty buggy.
- If the measurements you’re reading make no sense, you may not even be making measurement readings due to an incorrect setup. Go back to your prototype VI and try that. If it works, then you’ve probably got an issue within your application. If it doesn’t work, then you’ve probably got an instrument setup/configuration issue.
- Re-start the instrument frequently because you may end up setting something during development that’s not part of the app and you won’t realize right away, so you could fool yourself into thinking something is working that’s not.
- Channel mapping: starting from channel zero vs starting from channel one as the first channel. Either is fine, you just need to make sure that both ends of the interface have the same starting point. This problem pops up all over the place when multiple channels interface. You can think you’re reading from channel 3 when you’re reading from channel 4, and so on.
How to get help
If you work for a US-based manufacturer, this isn’t your main job (it probably isn’t if you’re reading this) and you’d like help controlling an instrument (or many) with LabVIEW as part of an automated test system, or perhaps even a non-test monitoring or control application, you can reach out to us for a LabVIEW consultation here. We’ve developed drivers for over 200 instruments and devices over the years, so we’ve already felt a lot of the pain that you don’t need to.
If interfacing with an instrument is only one part of your overall automated test system needs, you might be interested in our LabVIEW Test Automation – Custom Automated Test System Buyers Guide.
